It happened. I jumped onto the "ombre train!"
You see, I was trying to come up with a simple (aka cost-effective), homemade Valentine's Day treat for my co-workers. I remembered that I had a box of pencils I had picked up from the dollar-store, so I decorated them with some supplies I had in my craft stash to make these Valentine's Day Ombre Pencils.
1. The main reason this project was so cost-effective was because I already owned everything I needed to make these pencils: mod podge, glitter, pencils, acrylic paint, and a foam brush.
2. I started by setting out my paints: white, two shades of pink, and red.
3. I painted the pencils white to begin with, sort of like a blank canvas.
4. Once the base coat was dry, it was time to begin the ombre painting. Starting with the lightest shade of pink, I started painting sections of the pencil, ending with the darkest shade (red) near the eraser. I blended the different sections of color together with the wet paint brush.
And in no time, my pencils were painted.
Once the paint had dried, I painted a thin coat of mod podge on each pencil as a top coat.
5. But I wasn't done quite yet! When the mod podge had dried, it was time for the glitter! I squeezed some tacky glue on the metal portion of the pencils- you know, the thing that holds the eraser on the pencil!
6. Then I sprinkled glitter all over the glue and let the pencils dry overnight.
And that's all it took to create these Valentine's Day Ombre Pencils. Simple and cute, right?
VALENTINE'S DAY OMBRE PENCILS SUPPLY LIST
Pencils
Foam paint brush
Acrylic paint
Mod podge
Tacky Glue
Glitter
I consider myself extremely lucky to have a craft area in my cozy NYC apartment! However, my craft area is also highly visible from almost every room in my apartment, so I strive to keep it as neat as possible (which is a tall order for someone like me). With that in mind, I wanted a way to tidy up the area where I keep all my markers and pens, so I whipped up these Painted Glass Canisters.
As a reminder, this is what the marker area looked like before this project... see that unsightly corner of junk at the far end of the picture? That's what I was tackling!
So, I rustled up the supplies:
- a random assortment of glass containers I had acquired from the dollar store/saved from the recycling bin/snapped up for 50 cents at a local thrift shop. (I didn't end up using the old wine bottle in the pic above since I couldn't squeeze any of my poor markers into it!)
- leftover paint samples that I purchased for a project a while back.
This project is embarrassingly simple. I cleaned my containers, and once they were thoroughly dry, I poured my leftover paint into them.
I swirled the container around until the paint had coated the inside surface of the container.
Yep, that's all it took... so simple, right?
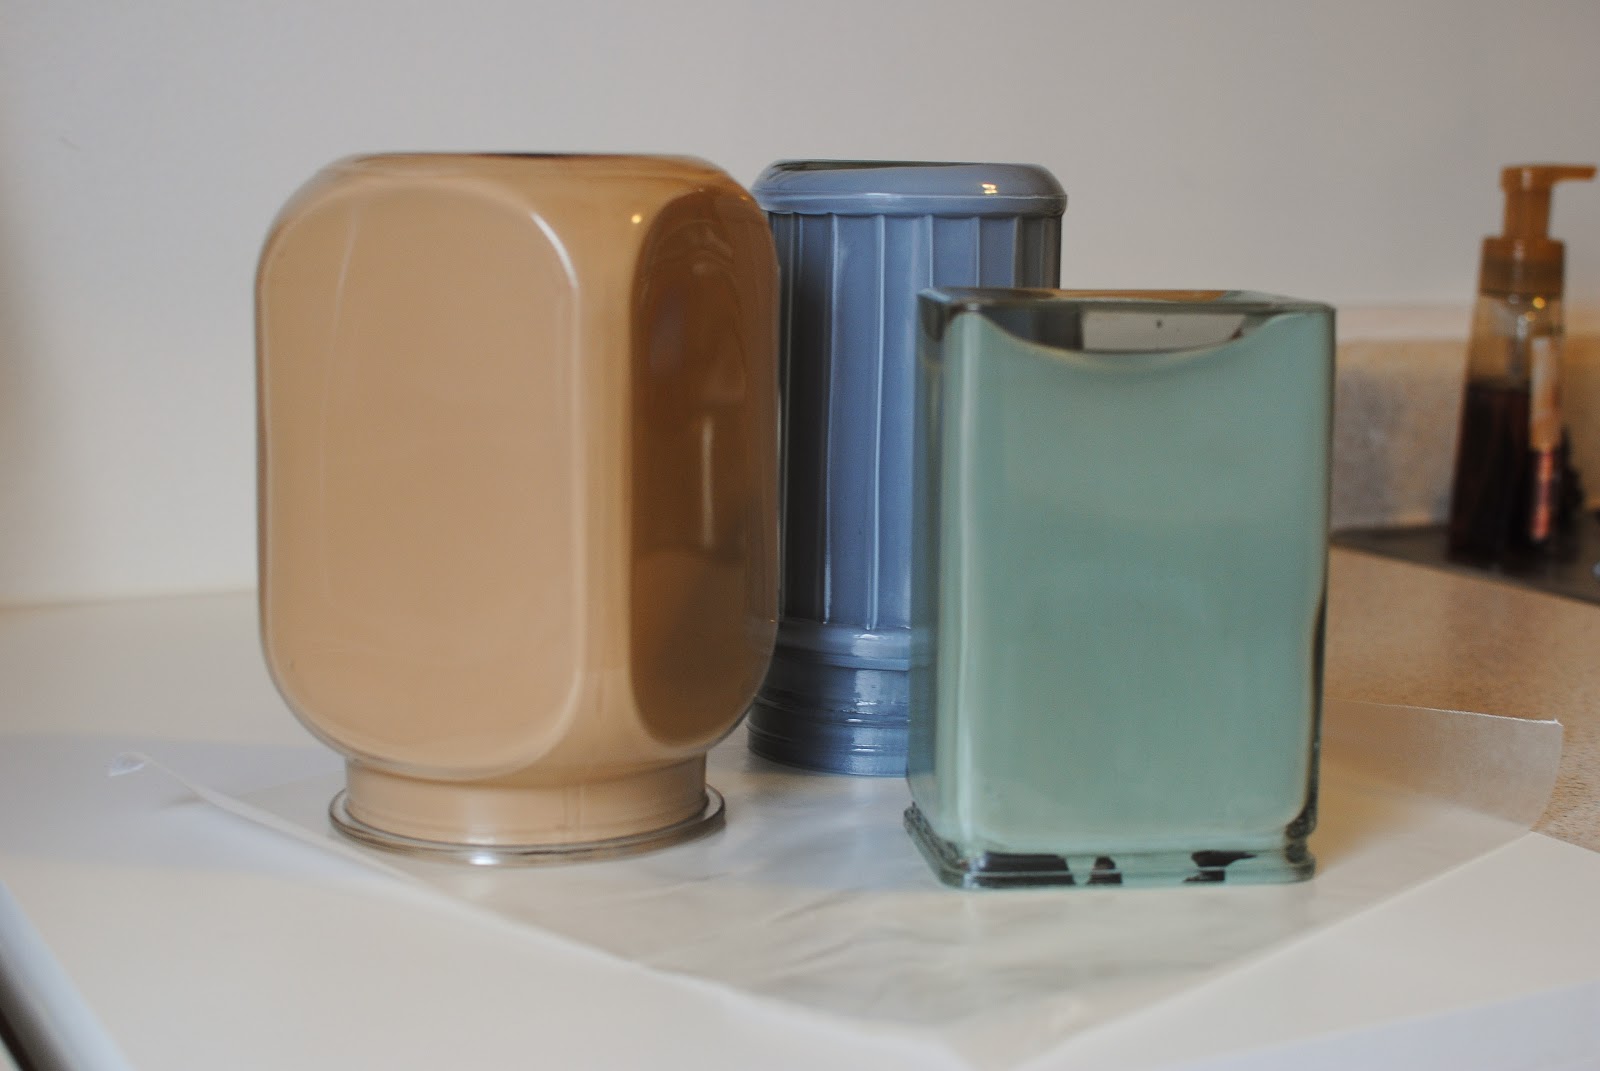
In order to allow the excess paint to drip out, while the paint was still quite wet I placed the containers upside down on a piece of wax paper for about 20 minutes. After that, I tipped them right-side up and used a wet paper towel to clean up the edge/lip of each container. Once the containers had the looks I wanted, I let them dry for a few days before filling them with the markers/pens I wanted to have on hand on my craft desk.
So much better than the "before" pic, right? Plus, the leftover paint samples I used were actually matched to the couch on the other side of the room, so these containers tie into the room's color-scheme...
There you have it: a cheap and simple way to dress up some glass canisters... AND a vast improvement on my craft area!
PAINTED GLASS CANISTERS SUPPLY LIST
Glass canisters
Paint (I used leftover wall paint samples)
Wax paper
Paper towels